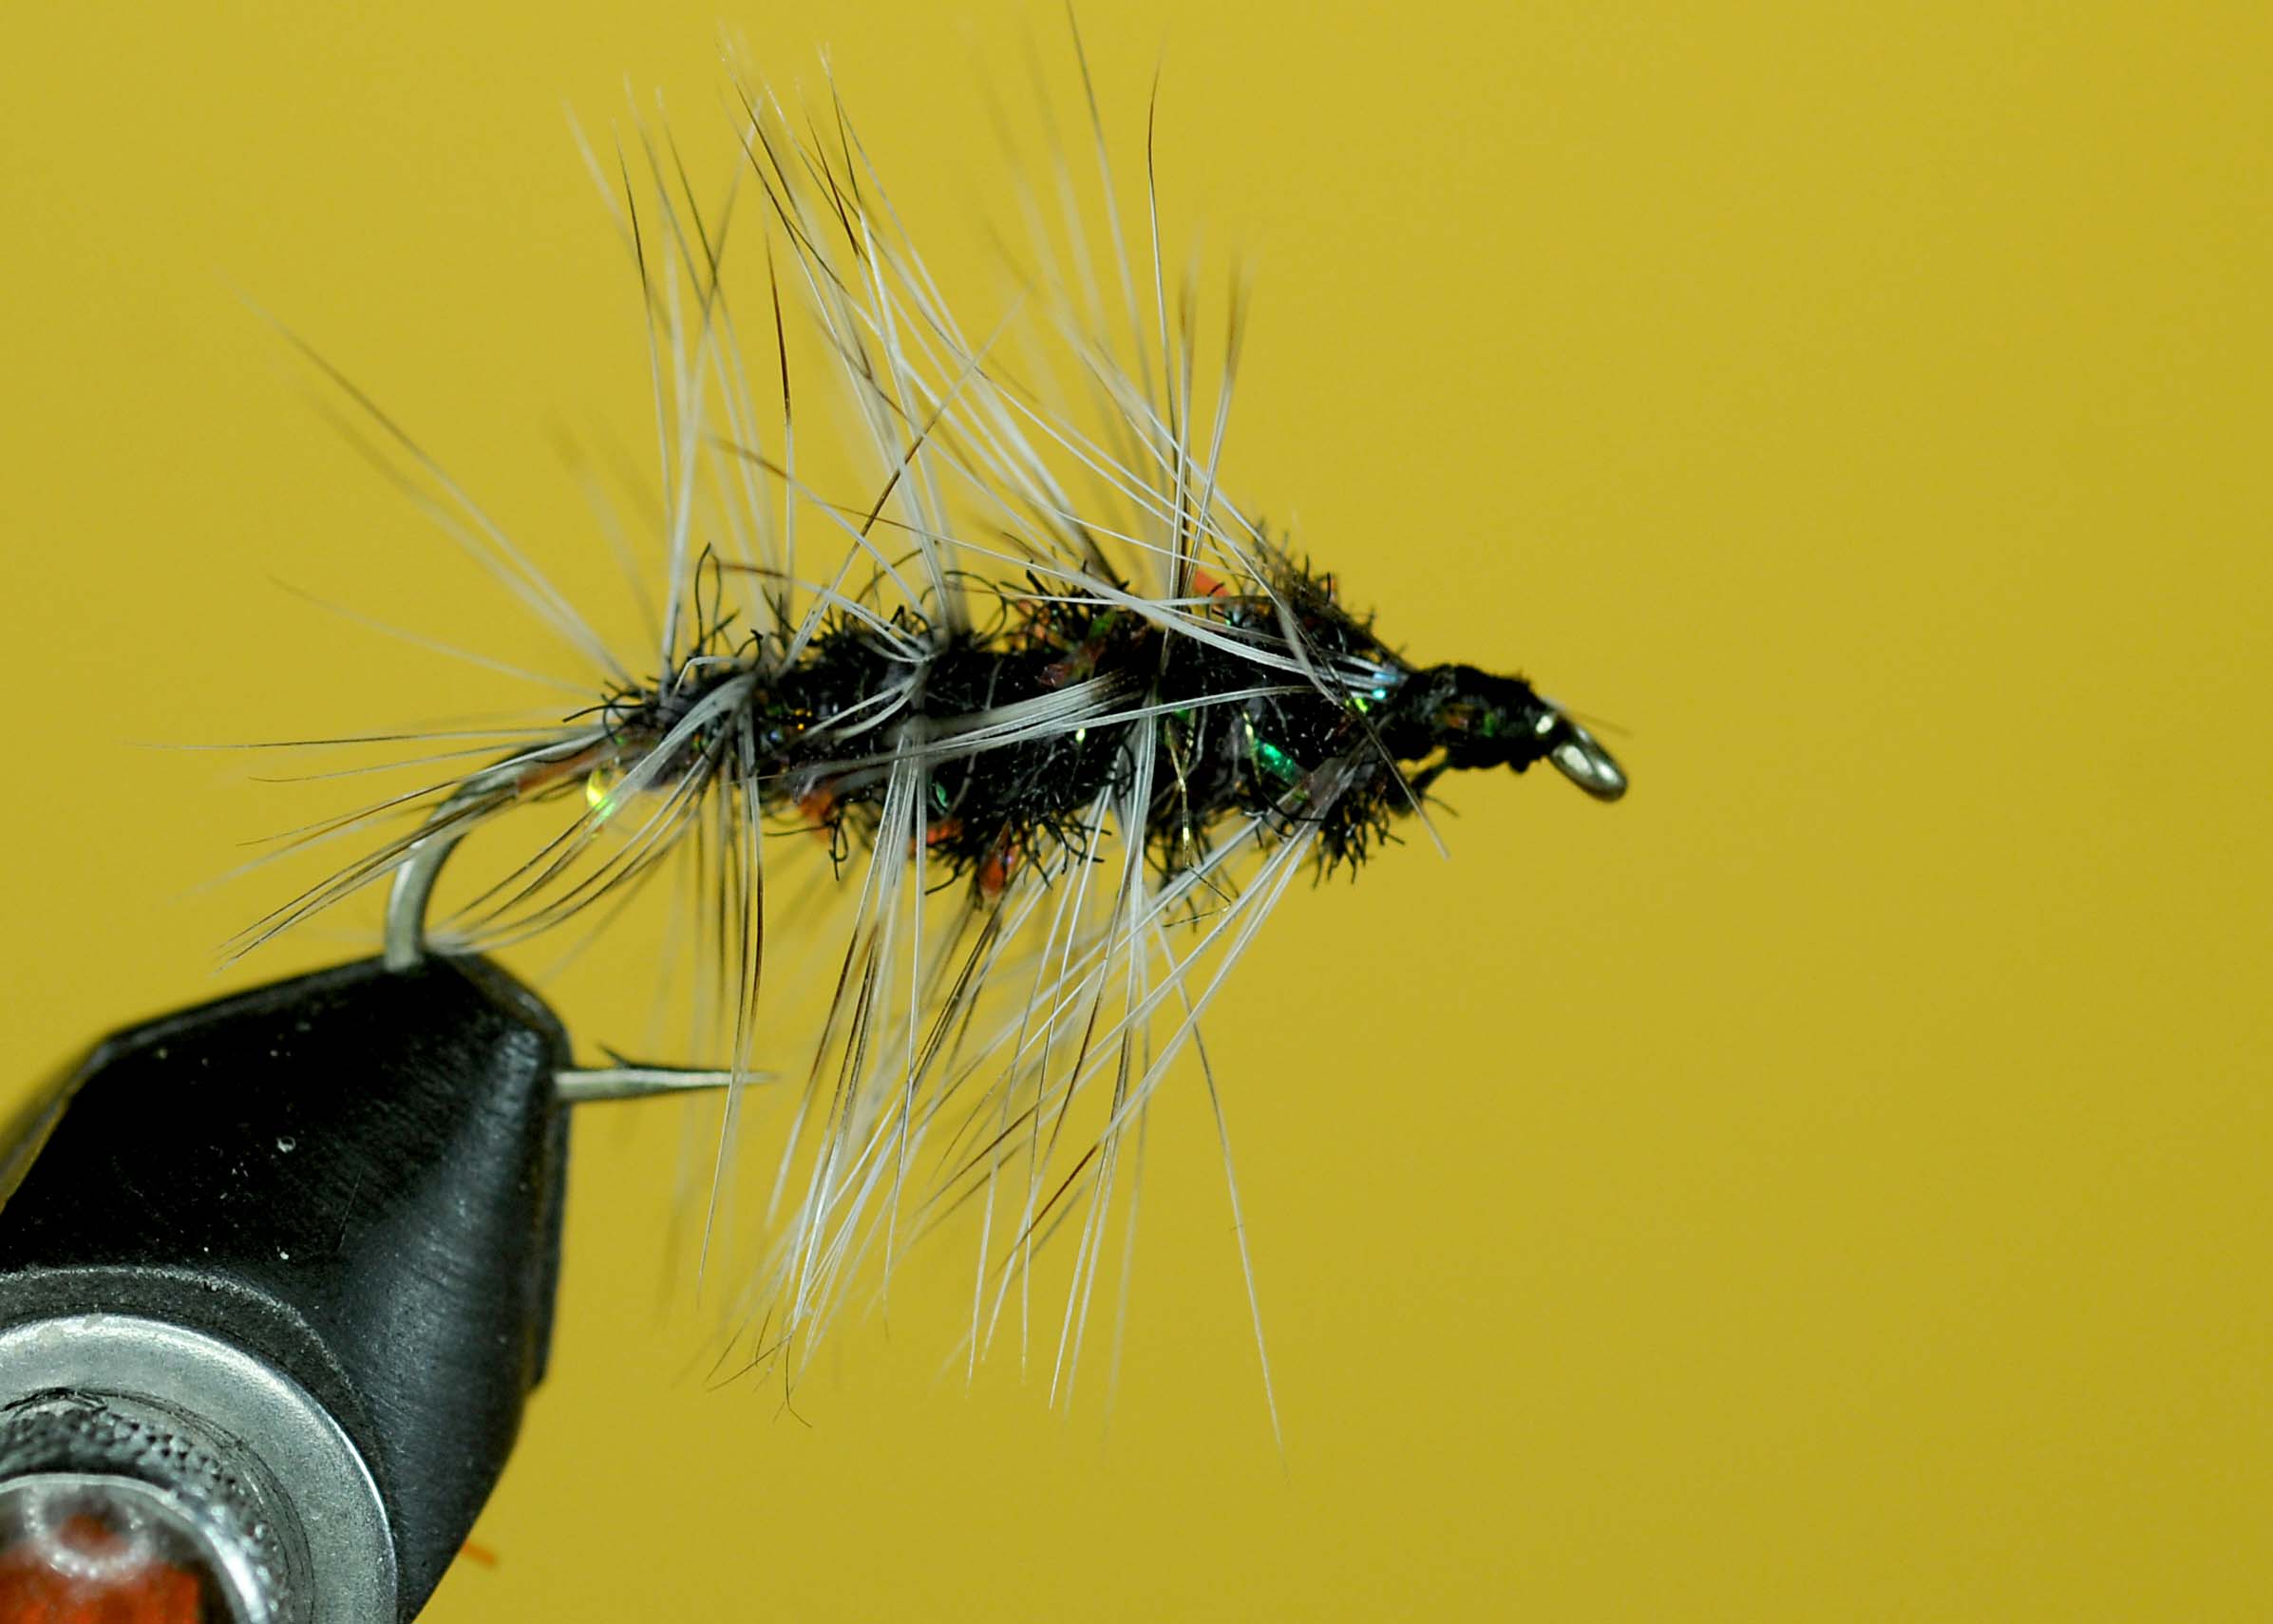

Few flies earn the title of “foundation pattern,” but the Woolly Worm belongs squarely in that category. Long before modern synthetics, tungsten beads, and hyper-realistic imitations, the Woolly Worm proved that motion, texture, and versatility matter more than detail. For fly tiers and anglers alike, it remains one of the most important patterns ever tied.
A Brief History
The Woolly Worm evolved from the British Palmer Fly, a classic hackled pattern with roots in 19th-century wet fly design. As American fly fishers adapted European techniques to larger rivers and more varied insect life, chenille replaced silk and dubbing, and fuller hackle was wrapped the length of the body. By the early 1900s, the Woolly Worm had emerged as a durable, easy-to-tie pattern well suited for North American trout, bass, and panfish.
Rather than imitating a single species, the Woolly Worm functions as a generalist. Depending on size, color, and presentation, it can suggest stonefly nymphs, hellgrammites, leeches, caterpillars, or other drifting food. This broad utility made it a staple fly decades before the term “searching pattern” came into common use.
The Woolly Worm also deserves recognition as the direct predecessor of the Woolly Bugger. When a marabou tail was added and the profile lengthened, the Bugger was born—carrying the Worm’s DNA into one of the most famous flies in history.
Tying Notes
The Woolly Worm is an excellent teaching fly and a perfect example of efficient design. It uses few materials, ties quickly, and performs across a wide range of conditions.
Hook
Wet fly or 2X–3X long nymph hook, sizes 4–14
Thread
Black or color-matched 6/0 or 140 denier
Body
Medium or large chenille (traditional)
Yarn or dubbing may be substituted for a slimmer profile
Hackle
Palmered saddle or schlappen hackle
Hackle fibers should extend just past the hook gap
Weight (Optional)
Lead or non-lead wire wraps under the body for depth control
Head
Simple thread head, whip finish, head cement
Tying Tip
Avoid overdressing. Sparse hackle with good spacing allows the fly to “breathe” in the water, which is where the Woolly Worm truly comes alive.
Classic Woolly Worm Color Variations
A small selection of colors can cover most fishing situations:
Black
The original and still the most reliable. Excellent in low light, cold water, or when imitating leeches.
Olive
A strong nymph and general aquatic insect imitation, especially effective in clear water.
Brown
A classic stonefly and hellgrammite stand-in for freestone streams.
Red
A traditional attractor color with a long history of success in stained or high water.
Yellow
Originally intended to imitate caterpillars; remains an effective high-visibility searching fly.
Orange / Rust
Productive in fall and as a trigger color when fish are aggressive.
Optional wire ribbing in gold or copper can be added for durability, but the traditional pattern relies entirely on texture and movement rather than flash.
Why the Woolly Worm Still Belongs in Your Fly Box
At Bugcrafters, we value patterns that teach as much as they catch. The Woolly Worm teaches economy of materials, thoughtful proportion, and the importance of movement in fly design. It’s forgiving to tie, adaptable to fish, and timeless in function.
Whether you’re tying your first flies or revisiting the roots of the craft, the Woolly Worm remains a reminder that good flies don’t need to be complicated—just well understood.
STEP-BY-STEP TYING INSTRUCTIONS
The Woolly Worm is one of the best flies ever designed for learning fundamentals. It teaches proportion, palmered hackle control, and material economy—skills that carry over to dozens of other patterns.
Step 1: Secure the Hook
Place the hook firmly in the vise with the shank level. Start your thread just behind the hook eye and lay a smooth thread base to the bend.

Bugcrafters Tip:
A flat, even thread base helps chenille and hackle seat cleanly.
Step 2: Add Weight (Optional)
Wrap 10–15 turns of wire around the front half of the hook shank. Push the wraps together and secure with thread, covering completely. Coat with head cement or super glue if desired.

When to Use Weight:
- Faster water
- Deeper runs
- Stonefly or leech presentations
Step 3: Tie in the Chenille
Prepare the chenille by stripping about ¼ inch of the chenille fibers from the two threads at the center of the chenille at the rear of the hook. Tie in the chenille by the thread center with a few firm thread wraps. Leave it hanging to the rear.


Proportion Check:
The body should end just short of the hook eye, leaving room for a small head.
Step 4: Tie in the Hackle
Select a hackle with fibers extending slightly past the hook gap. Strip a few fibers from the base and tie the hackle in by the tip at the rear of the hook.

Orientation Tip:
Shiny side of the hackle facing forward helps fibers sweep back naturally.
Step 5: Wrap the Body
Wrap the chenille forward in touching or slightly overlapping turns to form a uniform body. Secure with thread and trim excess.

Step 6: Palmer the Hackle
Spiral the hackle forward over the chenille using evenly spaced wraps. This reinforces the body and creates movement.
Key Lesson:
Even spacing beats density. Sparse hackle breathes better in the water.
Step 7: Secure and Build the Head
Tie off the hackle just behind the hook eye. Build a small, neat thread head.
Step 8: Finish
Whip finish, trim thread, and apply a small drop of head cement for durability. Avoid getting head cement in the eye of the hook.
COMMON MISTAKES TO AVOID
- Overdressing the hackle – kills movement
- Crowding the eye – leaves no room for a clean head
- Using hackle too stiff – softer hackle moves better in slower water
Here is the finished fly.
Please Like and SHARE.